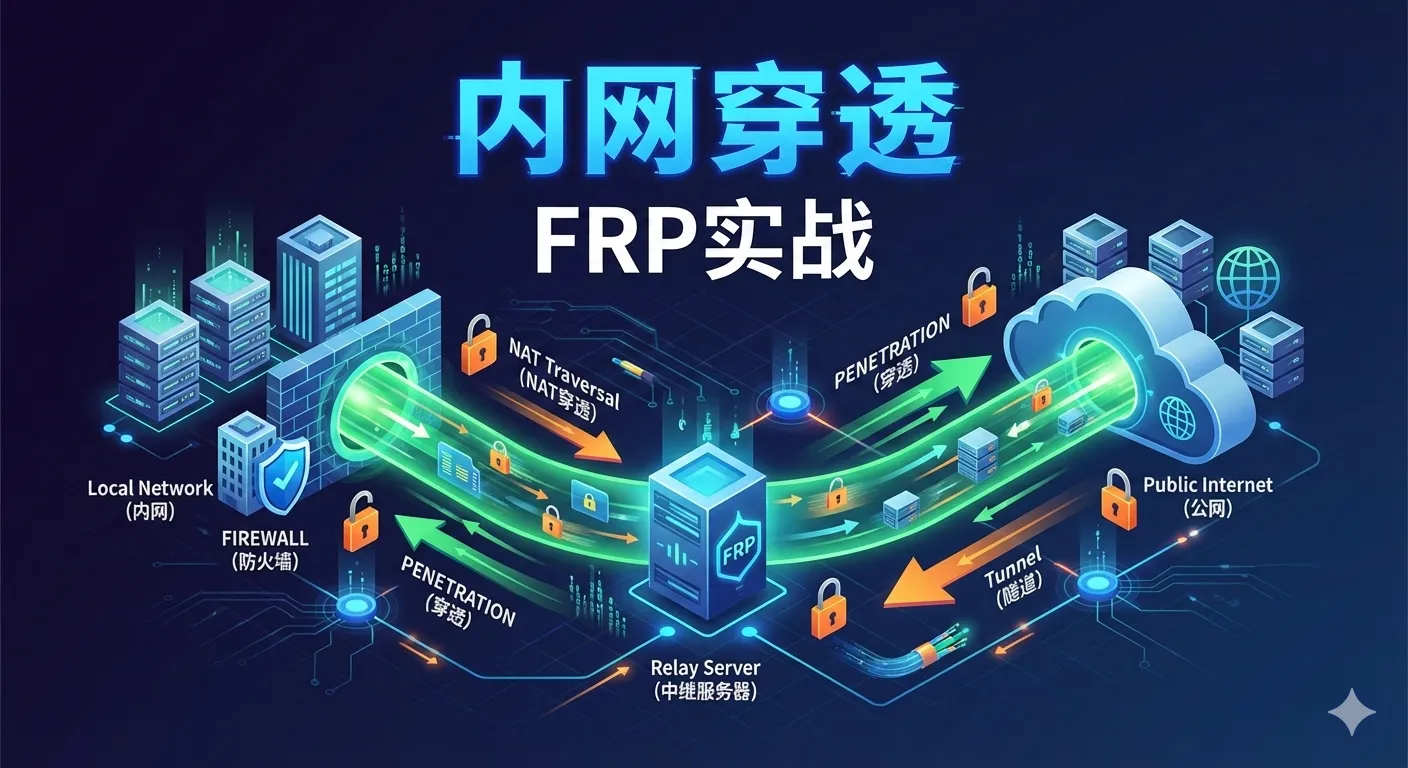
Using FRP to Implement Internal Network Penetration: A Practical Guide
Introduction
- Last year I purchased a high-performance server that has now expired, but the renewal fee is too expensive. This year I settled for a 2-core 2GB low-cost server to act as a relay, while using the server at home as the main server.
FRP Overview
FRP (Fast Reverse Proxy) is an open-source tool that can be used for internal network penetration. It supports TCP/UDP/HTTP/HTTPS protocols and can expose internal network services to the public internet, enabling access to your servers or computers from any network environment.
🔗 FRP Official Website: https://github.com/fatedier/frp
Environment Preparation
- A server with a public IP address, preferably from Alibaba Cloud or Tencent Cloud.
- A server or computer that needs to implement internal network penetration. In my case, it’s a Mac mini at home.
Download and Installation
Visit GitHub FRP Releases to download the version suitable for your system: The file format you’ll see is frp_0.61.1_xxx(applicable system) _ yyy(system architecture).tar.gz Mac Arm: frp_0.65.0_linux_amd64.tar.gz Linux x86: frp_0.65.0_linux_amd64.tar.gz
After extraction, you’ll see the following files:
# Linux command
ls
frpc frpc.toml frps frps.toml LICENSE
FRP Server Deployment
Configuration File Modification (frps.toml)
# ==============================
# FRP Server-side (frps.ini) Configuration
# ==============================

# Bind listening address (default `0.0.0.0` means listening on all IPs)
bindAddr = "0.0.0.0"

# Server listening port (clients need to connect to FRP server through this port)
bindPort = 7000

# HTTP port (for internal network HTTP proxy penetration) (my port 80 is occupied)
vhostHTTPPort = 8230

# HTTPS port (for internal network HTTPS proxy penetration) (my port 443 is occupied)
vhostHTTPSPort = 8443

# Subdomain support
# You can resolve dynamic subdomains through `subDomainHost`
# For example: if `subDomainHost` is configured as "example.com"
# then clients can use `test.example.com` to access internal network services
# If you don't have a domain name or don't use this feature, please remove this line!
# If you want to use direct IP connection such as: 168.0.0.1:8848, delete this line and don't configure it!
# subDomainHost = "xxxx.com"  # Please replace with your actual domain name

# =============================================
# Web Control Panel (Dashboard) Configuration
# =============================================

# Monitor interface listening address (`0.0.0.0` means all IPs can access)
webServer.addr = "0.0.0.0"

# Web management panel port (can be accessed in browser, default 7500)
# You can access the FRP management panel through `http://your_public_ip:7500`
webServer.port = 7500

# Web control panel admin account (customizable)
webServer.user = "admin"

# Web control panel password (please modify it yourself)
webServer.password = "your_password"

# =============================================
# Authentication Configuration
# =============================================

# Authentication method (prevent unauthorized clients from connecting)
# Currently FRP supports `token` and `oidc` methods, we'll use token
auth.method = "token"

# Token authentication (clients need to match the same token to connect)
# In simple terms, it's a password. Write one you can remember, preferably a long one
# Example: 123-abc-123abc
auth.token = "your_token"   # Please modify it yourself, don't use mine
Startup
Execute the following command in the frp directory:
screen -S frps ./frps -c frps.tomlAfter successful startup, you’ll see:
[frps/root.go:105] frps uses config file: frps.toml

[server/service.go:237] frps tcp listen on 0.0.0.0:7000

[server/service.go:305] http service listen on 0.0.0.0:8230

[server/service.go:319] https service listen on 0.0.0.0:8443

[frps/root.go:114] frps started successfully

[server/service.go:351] dashboard listen on 0.0.0.0:7500- Exiting the program window on Linux
Press
Ctrl+Ato release, then pressDto exit the program window To return to the program window, enter the commandscreen -r frpsTo terminate the program process, enter the commandpkill frps
FRP Client Configuration
- Describes the installation and configuration parameters of frpc.
- Provides connection testing and verification methods.
Configuration File Modification (frpc.toml)
# Server address (fill in the IP or domain name of your server with a public IP)

serverAddr = "xx.xx.xx.xx"

# Server port (port that the FRP server is listening on)

serverPort = 7000


# Connection protocol

transport.protocol = "tcp"


# Authentication method

auth.method = "token"

# Token used for authentication (must match the token you configured on the server exactly!)

auth.token = "your_token"


# Proxy configuration
[[proxies]]
# Proxy name (identifier for the proxy, fill in according to your preference)

name = "xiaofeng"

# Proxy type (http, https, tcp, etc.)

# Here you need to fill in according to your requirements. If you have a domain name, use http

# If you don't have a domain name, use direct IP connection, for example: 165.0.0.1:8848, in which case use tcp protocol here

# If you use tcp protocol, you must remove the earlier server-side configuration `subDomainHost = "xxxx.com"`!

# type = "tcp"   # Use this for direct IP+port connection

type = "tcp"

# Local IP (the local address where the FRP client needs to forward traffic)

localIP = "127.0.0.1"

# Local port (the local port where the FRP client needs to forward traffic, fill in according to the port you want to penetrate)

localPort = 5678

# Subdomain for accessing this proxy

# If you don't have a domain and want to use direct IP connection, please delete this line, otherwise it will cause connection failure!

# subdomain = "rocket" # Configure subdomain based on your domain, after configuration access through rocket.xxx.com format


# If you don't use a domain and want to use ip+port direct connection, you must add this line!

# And delete subdomain = "rocket"

remotePort = 5678    # This port must be identical to the localPort configuration for normal access!
Startup
Execute the following command in the frp directory:
screen -S frpc ./frpc -c frpc.tomlAfter successful startup, you’ll see:
[I] [sub/root.go:142] start frpc service for config file [frpc.toml]
[I] [client/service.go:295] try to connect to server...
[I] [client/service.go:287] [7c9de41e30e15c46] login to server success, get run id [7c9de41e30e15c46]
[I] [proxy/proxy_manager.go:173] [7c9de41e30e15c46] proxy added: [rocketcat]
[I] [client/control.go:168] [7c9de41e30e15c46] [rocketcat] start proxy success- Exiting the program window on Linux
Press
Ctrl+Ato release, then pressDto exit the program window To return to the program window, enter the commandscreen -r frpcTo terminate the program process, enter the commandpkill frpc
Testing and Verification
You can log into the public IP page to check the proxy status (http://xx.xx.xx.xx:7500), as shown in the figure:

You can also view the specific protocol details, such as the TCP port 5678 that I configured:

Summary
- Pay attention to whether you’re configuring/starting the server or client, as the filenames are very similar. Additionally, the configuration process may inevitably raise questions or even cause errors. I recommend asking an AI directly, the results are excellent.