一、安装
使用 docker-compose 安装,指定 config.json 配置文件。
1
2
3
4
5
6
7
8
9
10
11
12
13
14
| version: "3.9"
services:
centrifugo:
container_name: centrifugo
image: centrifugo/centrifugo:v5
volumes:
- ./config.json:/centrifugo/config.json
command: centrifugo -c config.json
ports:
- 8000:8000
ulimits:
nofile:
soft: 65535
hard: 65535
|
docker-compose.yml 如上所示,使用 v5 版本。
1
2
3
4
5
6
7
8
9
10
11
12
13
14
15
16
| {
"token_hmac_secret_key": "kkc_secret",
"api_key": "kkc_api_key",
"admin_password": "password",
"admin_secret": "secret",
"admin": true,
"allowed_origins": ["*"],
"anonymous": true,
"publish": true,
"subscribe_to_publish": true,
"presence": true,
"debug":true,
"client_anonymous":true,
"join_leave": true,
"allow_subscribe_for_client": true
}
|
config.json 配置如上所示,我最初写配置时,参考的是官网的 quik start,只有前5行,导致 channel 订阅失败,后面才加了下面的,当然还不全,具体参数可去官网查看。
执行启动命令
在浏览器输入 IP + 8000 端口,并输入配置文件中的 admin_password,即可进入主页面,如图所示:

二、服务端推送及客户端token获取
2.1 maven依赖
1
2
3
4
5
6
7
8
9
10
| <dependency>
<groupId>com.auth0</groupId>
<artifactId>java-jwt</artifactId>
<version>3.19.2</version>
</dependency>
<dependency>
<groupId>org.springframework.cloud</groupId>
<artifactId>spring-cloud-starter-openfeign</artifactId>
<version>3.1.1</version>
</dependency>
|
引入 java-jwt 依赖,用于生成 token。
引入 spring-cloud-starter-openfeign 依赖,用于 Centrifugo API 调用。
2.2 客户端token生成
1
2
3
4
5
6
7
| public static String generateToken(String user) {
return JWT.create()
.withExpiresAt(new Date(System.currentTimeMillis() + 86400 * 100000))
.withClaim("sub", user)
.withSubject(user)
.sign(Algorithm.HMAC256("kkc-secret"));
}
|
上述代码用来生成客户端token,可自定义过期时间,密钥为 config.json 配置的 token_hmac_secret_key。
2.3 服务端推送
2.3.1 结构体定义
1
2
3
4
5
6
7
8
9
10
11
12
13
14
15
16
| @Data
@AllArgsConstructor
@NoArgsConstructor
@Builder
public class InstantStructDTO {
private String method;
private InstantMsgDTO params;
}
|
1
2
3
4
5
6
7
8
9
10
11
12
13
14
15
16
17
18
19
20
21
22
23
24
25
26
27
| @Data
@AllArgsConstructor
@NoArgsConstructor
@Builder
public class InstantMsgDTO {
private String channel;
private List<String> channels;
private String user;
private JSONObject data;
private JSONObject info;
}
|
2.3.2 open-feign调用
统一配置 Header,在 header 中加入 X-API-Key,值为 config.json 中配置的 api_key。
1
2
3
4
5
6
7
8
9
10
11
12
13
14
15
| public class InstantMsgConfiguration {
@Bean
public RequestInterceptor MyBasicAuthRequestInterceptor() {
return new MyBasicAuthRequestInterceptor();
}
static class MyBasicAuthRequestInterceptor implements RequestInterceptor {
@Override
public void apply(RequestTemplate requestTemplate) {
requestTemplate.header("X-API-Key", "kkc_api_key");
}
}
}
|
FallbackFactory定义。
1
2
3
4
5
6
7
8
9
10
11
12
13
14
15
16
17
18
| @Component
public class InstantMsgServiceFallbackFactory implements FallbackFactory<InstantMsgService> {
@Override
public InstantMsgService create(Throwable cause) {
return new InstantMsgService() {
@Override
public ResponseEntity<Object> sendMsg(InstantStructDTO body) {
if (cause instanceof FeignException) {
FeignException feignException = (FeignException) cause;
return ResponseEntity.status(feignException.status()).body(feignException.contentUTF8());
} else {
return null;
}
}
};
}
}
|
service定义。
1
2
3
4
5
6
7
8
9
10
| @FeignClient(name = "instantMsg-server", url = "http://10.64.4.78:8000", configuration = InstantMsgConfiguration.class, fallbackFactory = InstantMsgServiceFallbackFactory.class)
public interface InstantMsgService {
@RequestMapping(value = "/api", method = RequestMethod.POST)
ResponseEntity<Object> sendMsg(@RequestBody InstantStructDTO body);
}
|
当然,别忘了在启动类上加 @EnableFeignClients 注解。
2.3.3 服务端推送
1
2
3
4
5
6
7
8
9
10
11
12
13
14
15
| @Resource
private InstantMsgService instantMsgService;
private void sendStatus(String serviceCode, Boolean healthStatus) {
JSONObject data = new JSONObject();
data.put("serviceCode", serviceCode);
data.put("healthStatus", healthStatus);
InstantMsgDTO instantMsgDTO = InstantMsgDTO.builder()
.channel("service-register-health")
.data(data)
.build();
InstantStructDTO instantStructDTO = new InstantStructDTO("publish", instantMsgDTO);
ResponseEntity<Object> response = instantMsgService.sendMsg(instantStructDTO);
log.debug("instant msg service response:{}", response);
}
|
上述代码就是将服务的健康状态使用 Centrifugo 推送给前端。这里feign调用的过程就是执行下面的HTTP请求。
1
2
3
4
5
6
7
8
9
10
11
12
13
| curl --location --request POST '10.64.4.78:8000/api' \
--header 'X-API-Key: kkc_api_key' \
--header 'Content-Type: application/json' \
--data-raw '{
"method": "publish",
"params": {
"channel": "service-register-health",
"data": {
"serviceCode": "kkc-whale",
"healthStatus": true
}
}
}'
|
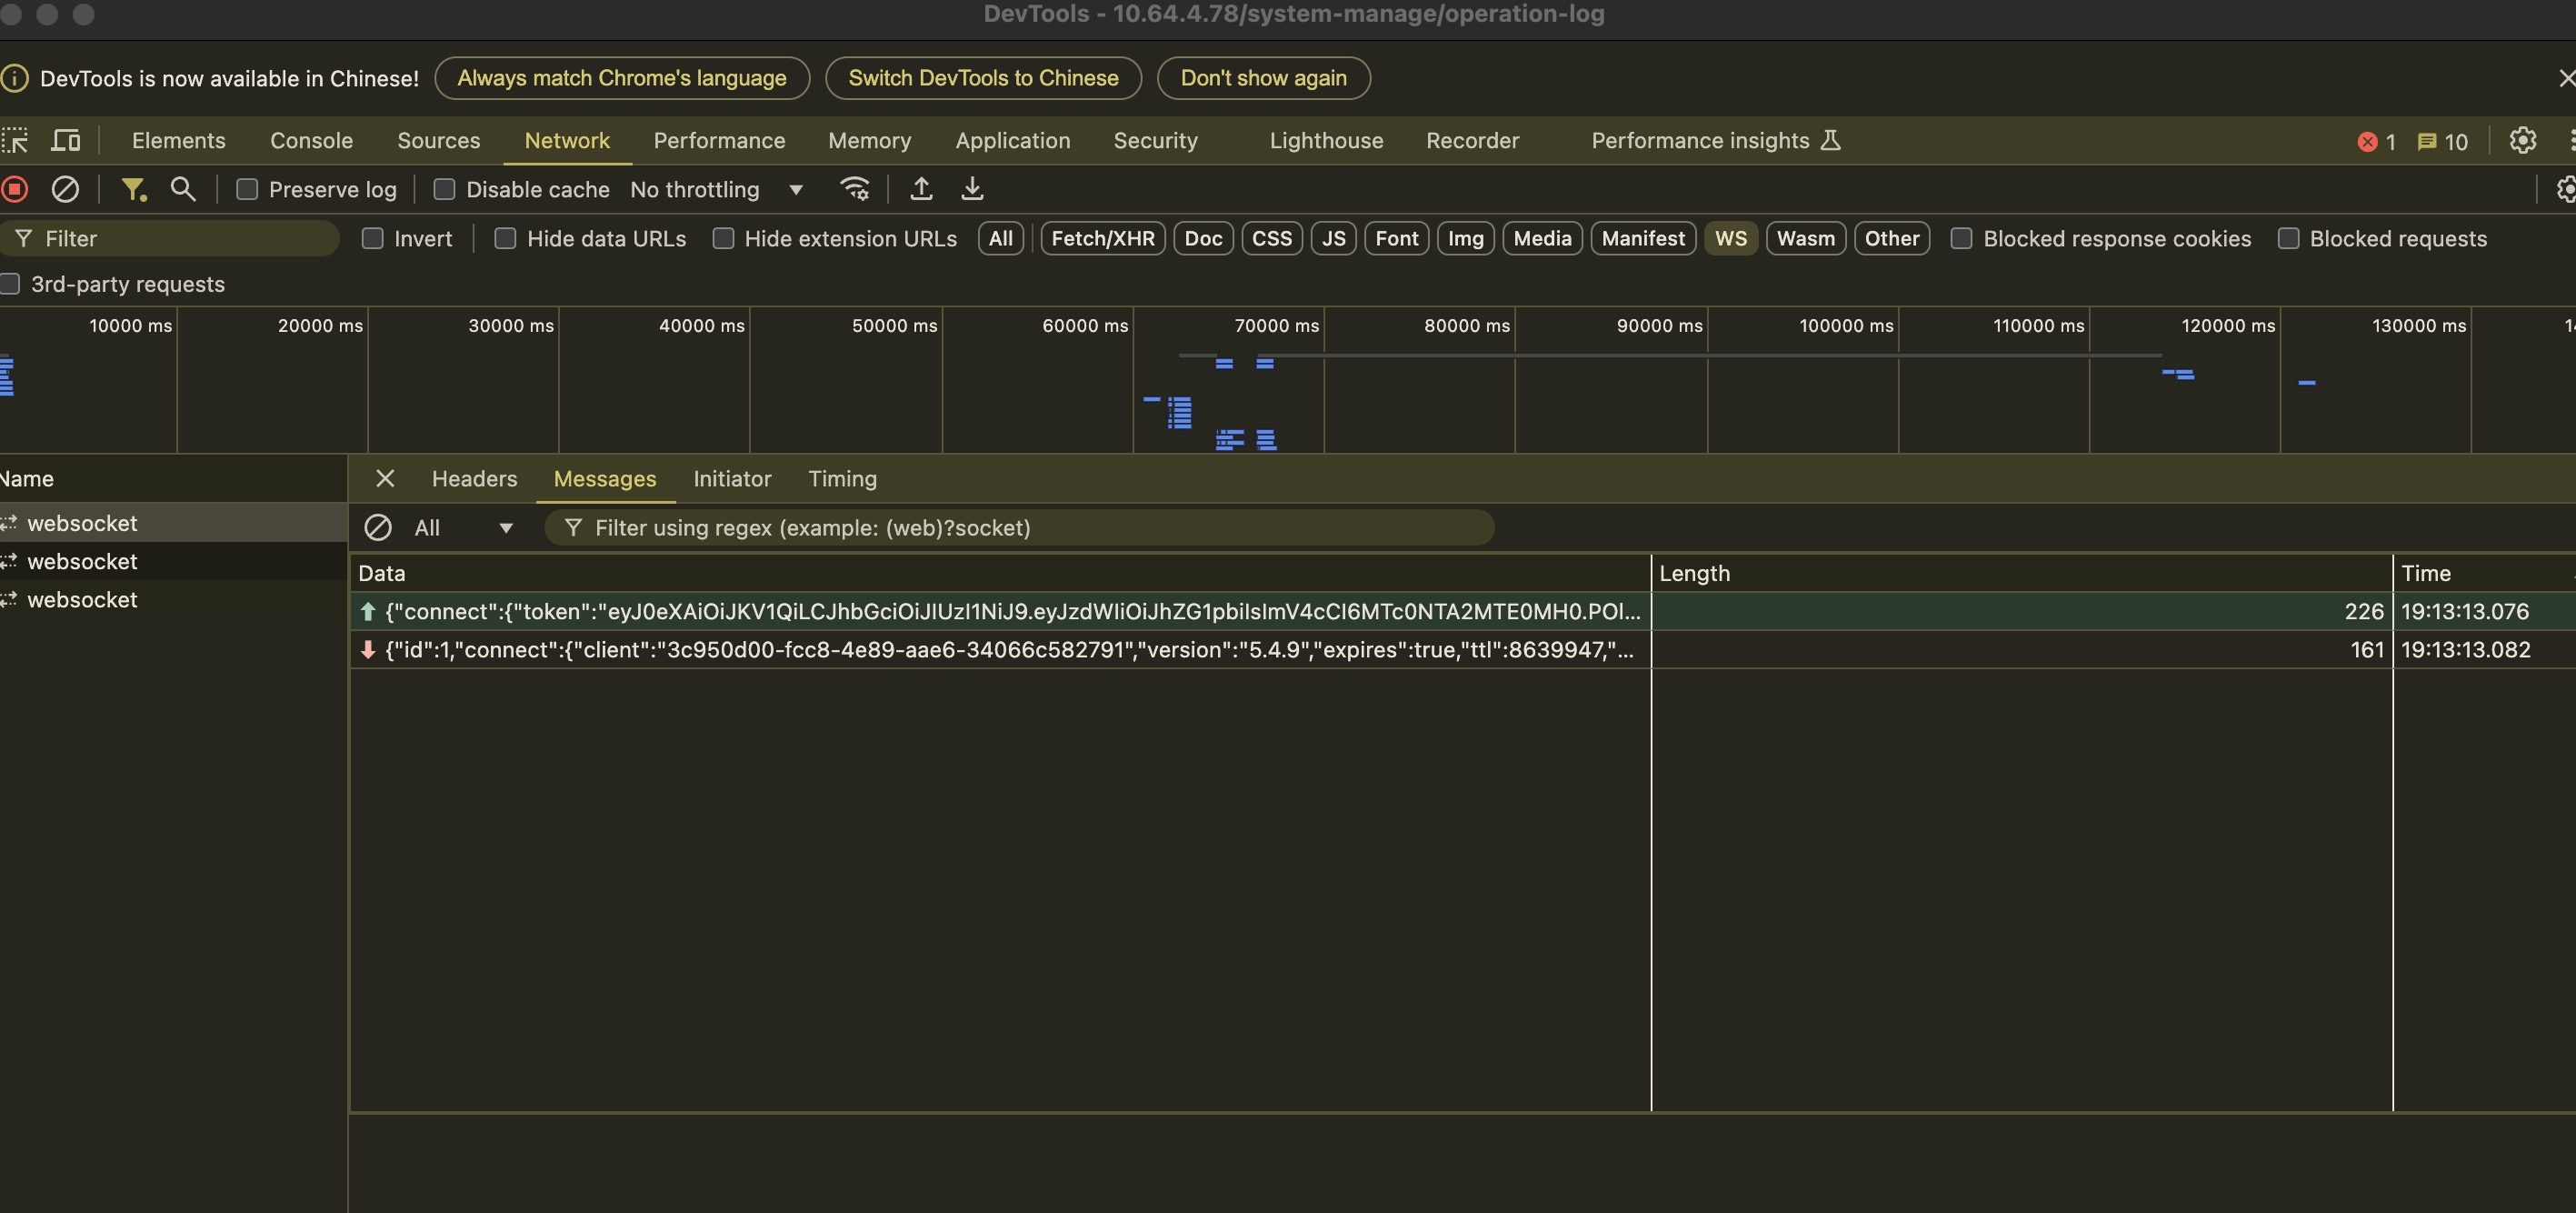
前端建立连接,订阅 channel 后会收到如下消息:

1
2
| {"connect":{"token":"eyJ0eXAiOiJKV1QiLCJhbGciOiJIUzI1NiJ9.eyJzdWIiOiJhZG1pbiIsImV4cCI6MTc0NTA2MTE0MH0.POlYmjLFv2xJOjIzNkuJiy5tkpRNz5xynimcxyXufn4","name":"js"},"id":1}
{"subscribe":{"channel":"service-register-health"},"id":2}
|
1
2
| {"id":1,"connect":{"client":"3c950d00-fcc8-4e89-aae6-34066c582791","version":"5.4.9","expires":true,"ttl":8639947,"ping":25,"pong":true}}
{"id":2,"subscribe":{}}
|
收到推送消息时,如下:

1
| {"push":{"channel":"service-register-health","pub":{"data":{"serviceCode":"kkc-whale","healthStatus":false}}}}
|
三、参考
官网:https://centrifugal.dev/


